Vue.js 프로젝트 템플릿 기본 구조

create-vue로 프로젝트를 생성했다면 다음의 구조를 확인할 수 있습니다.

설정에 따라 다양한 구성이 포함되겠지만 이 글에서는 Vue.js 프로젝트의 핵심 구성만 살펴보도록 하겠습니다.
최초 진입점은 index.html 입니다.
<!DOCTYPE html>
<html lang="en">
  <head>
    <meta charset="UTF-8">
    <link rel="icon" href="/favicon.ico">
    <meta name="viewport" content="width=device-width, initial-scale=1.0">
    <title>Vite App</title>
  </head>
  <body>
    <div id="app"></div>
    <script type="module" src="/src/main.ts"></script>
  </body>
</html>
보시다시피 <body>에는 ID가 app 인 내용이 없는 div 태그와 main.ts 스크립트만 포함되어 있습니다. main.ts를 보면,
import './assets/main.css'

import { createApp } from 'vue'
import { createPinia } from 'pinia'

import App from './App.vue'
import router from './router'

const app = createApp(App)

app.use(createPinia())
app.use(router)

app.mount('#app')
전역적으로 적용될 css인 main.css가 포함되며 Vue를 시작할 수 있도록 하는 app 인스턴스를 생성한 후 ID가 app인 엘리먼트를 Vue 컨테이너로 지정하는 것을 볼 수 있습니다. 이때 사용되는 최초 Vue 뷰는 App.vue가 됩니다.
App.vue를 살펴봅시다.
<script setup lang="ts">
import { RouterLink, RouterView } from 'vue-router'
import HelloWorld from './components/HelloWorld.vue'
</script>
<template>
<header>
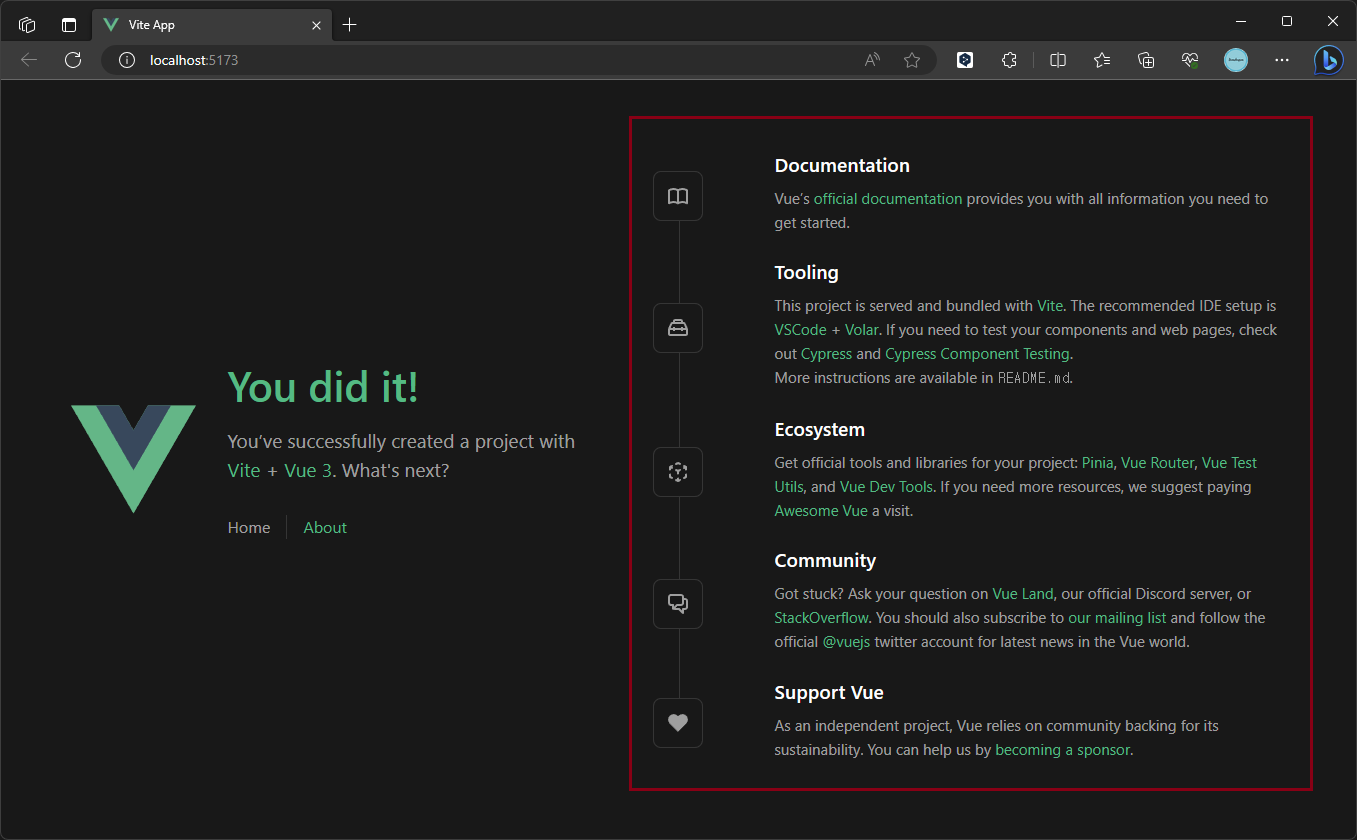
<img alt="Vue logo" class="logo" src="@/assets/logo.svg" width="125" height="125" />
<div class="wrapper">
<HelloWorld msg="You did it!" />
<nav>
<RouterLink to="/">Home</RouterLink>
<RouterLink to="/about">About</RouterLink>
</nav>
</div>
</header>
<RouterView />
</template>
<style scoped>
...
.vue는 <script>, <template> 및 <style>로 구성되어 있음을 확인할 수 있습니다. 특히 Vue는 컴포넌트 단위로 구성되므로 스타일을 scoped로 지정하는 것이 좋습니다. 이외 공통으로 적용할 스타일은 main.css에 배치하면 됩니다.
뷰나 컴포넌트에서 또다른 컴포넌트를 사용하려면 `import HelloWorld from './components/HelloWorld.vue 등으로 사용할 컴포넌트를 참조해야 합니다. 이후 <Hello World />로 컴포넌트를 사용할 수 있습니다.
<RouterLink /> 의 경우 vue-router를 통해 동적으로 컴포넌트를 불러와 페이지를 구성할 수 있게 해주는데 SPA 앱에서 페이지 전환시 필요합니다.
vue-router 구성은 프로젝트 생성 시 관련 설정을 하면 다음과 같이 package.json에 자동으로 포함됩니다.
...
"dependencies": {
    ...
    "vue-router": "^4.2.4"
  },
...
만약 프로젝트를 생성할 때 vue-router를 선택하지 않았다면 다음과 같이 설치할 수 있습니다.
npm install vue-router
--save 옵션은 이제 기본 설정이므로 설치 후 package.json에 vue-route가 포함된것을 확인할 수 있습니다.
그런데 라우터는 어떻게 동작 할까요? src/router/index.ts를 보면 경로가 어떤 Vue를 의미하는지 등록할 수 있습니다.
import { createRouter, createWebHistory } from 'vue-router'
import HomeView from '../views/HomeView.vue'

const router = createRouter({
  history: createWebHistory(import.meta.env.BASE_URL),
  routes: [
    {
      path: '/',
      name: 'home',
      component: HomeView
    },
    {
      path: '/about',
      name: 'about',
      // route level code-splitting
      // this generates a separate chunk (About.[hash].js) for this route
      // which is lazy-loaded when the route is visited.
      component: () => import('../views/AboutView.vue')
    }
  ]
})

export default router
이곳에 경로와 이름, 컴포넌트를 설정하여 해당 경로가 어떤 Vue 뷰가 될지를 라우터가 알게 합니다.
위의 설정에 의해 최초 화면은 HomeView.vue 가 되며, <RouterView />의 위치에 렌더링 됩니다.
About 링크를 눌렀을 때 경로는 /about이 되며 라우터 구성에 의해 AboutView.vue 의 내용이 <RouterView />에 렌더링 됩니다.
<template>
  <div class="about">
    <h1>This is an about page</h1>
  </div>
</template>

<style>
@media (min-width: 1024px) {
  .about {
    min-height: 100vh;
    display: flex;
    align-items: center;
  }
}
</style>
